How to Add HDR Sky Texture to an Environment Map in Maya?
HDR sky textures can significantly enhance rendering quality by providing a broad range of lighting information and high dynamic range. Maya, a powerful 3D modeling and rendering software, allows users to add HDR sky textures to environment maps to improve scene lighting. This article will guide you through the process of incorporating HDR sky textures into an environment map in Maya and offer practical steps and tips for designers.
1. Applications of HDR Sky Textures
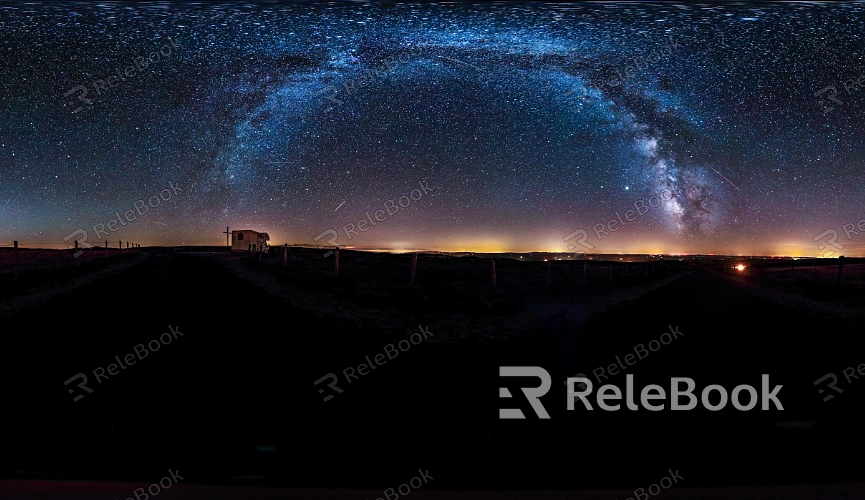
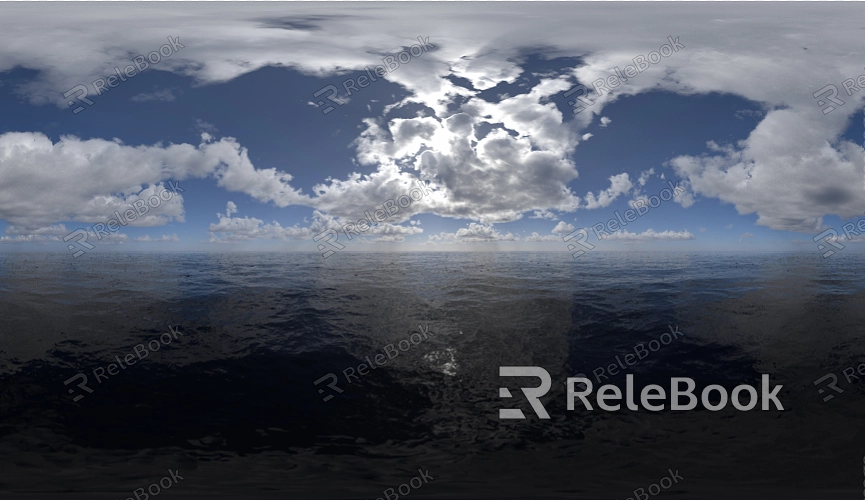
Environmental Lighting: HDR sky textures offer comprehensive environmental lighting, simulating real-world light and shadow effects. This is crucial for rendering realistic scenes and enhancing the depth of images.
Reflections and Refractions: When rendering objects with reflective or refractive properties, HDR sky textures provide more accurate environmental information, making reflections and refractions appear more natural.
2. Steps to Set Up HDR Sky Textures in Maya
Import HDR Texture: Start by importing the desired HDR sky texture file into Maya. Use the File > Import feature to bring the texture into your project.
Create Environment Map: In the Hypershade window, create a new Environment material. Choose Create > Shader > Arnold > aiSkyDomeLight to add an environment light source to your scene.
Apply HDR Texture: Apply the imported HDR sky texture file to the Color attribute of the aiSkyDomeLight. Select the aiSkyDomeLight, go to the Attribute Editor, find the Color attribute, click the icon, and choose the imported HDR texture file.
3. Adjusting HDR Sky Texture Settings
Exposure Adjustment: In the aiSkyDomeLight Attribute Editor, adjust the Exposure setting to control the brightness of the HDR texture. Increase or decrease the exposure as needed to ensure the lighting effects match the scene’s requirements.
Color Correction: Adjust the HDR sky texture’s color settings based on scene needs. Use the Color Balance settings to ensure the texture’s colors align with the overall lighting effects in the scene.
Tiling and Scaling: Modify the Scale and Tiling parameters of the aiSkyDomeLight to control how the HDR texture tiles and scales within the environment. This helps prevent unnatural seams or repetitive patterns in the render.
4. Rendering and Optimization
Preview Render: After setting up, perform a preview render to check the HDR sky texture’s effect. Ensure the lighting and reflections meet expectations and make any necessary adjustments.
Optimize Settings: Based on the preview render results, optimize texture settings and rendering parameters. Adjust Ray Depth and Sampling settings to balance render quality and performance.
Save Settings: Once all adjustments are made, save the Maya project file and rendering settings to ensure all changes are preserved.
Adding HDR sky textures to environment maps in Maya can greatly enhance the realism and visual impact of your scenes. By importing and applying HDR textures correctly, adjusting exposure and color settings, and optimizing render parameters, designers can achieve more realistic rendering results. Mastering these steps and techniques will help you produce high-quality visual outputs in your projects.
If you’re looking for high-quality HDR image resources, 3D textures, or other 3D modeling tools, Relebook offers a wide range of options to help you achieve outstanding visual effects in your projects. Visit Relebook to discover valuable resources and make your design work even smoother.
